Best Cloud Hosting for WordPress to Buy in October 2025

Cloud Native DevOps with Kubernetes: Building, Deploying, and Scaling Modern Applications in the Cloud


Embracing the Power of Cloud Hosting for Banking Solutions: A Handful Guide for Professionals

Steadfast Self-Hosting: Rapid-Rise Personal Cloud

Microsoft Azure Administrator Exam Ref AZ-104
Kubernetes Security and Observability: A Holistic Approach to Securing Containers and Cloud Native Applications

Cosmic Clouds Clear Hookah Set with Everything - Acrylic Glass Hookah with LED Light and Remote Control | Electric Hookah Heat Management Device, Includes Steel Coal Tongs, Shisha Fork, 2 Silicone Hoses, Brush, Custom Carry Case & 2 Extra Silicone Tips
-
EXPERIENCE MODERN HOOKAH: ENJOY FLAVORFUL SESSIONS WITH ADVANCED HEAT MANAGEMENT.
-
CUSTOMIZABLE AMBIANCE: SET THE MOOD WITH REMOTE-CONTROLLED LED LIGHTING.
-
PORTABLE DESIGN: EASY TO STORE AND TRANSPORT WITH A DURABLE CARRY CASE.
Step by Step Instructions to Hosting a WordPress Website on a DigitalOcean Cloud: Step by step instructions to setup, optimize and secure your WordPress powered website on a cloud based hosting
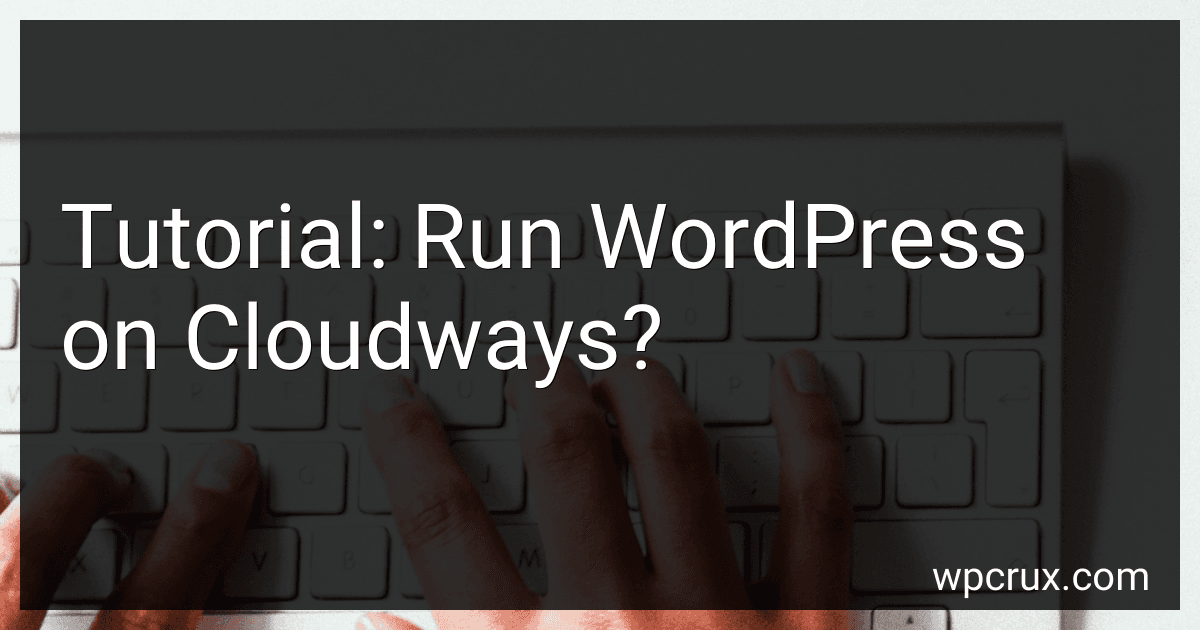
WordPress is one of the most popular content management systems (CMS) for building websites. Cloudways is a cloud hosting platform that offers managed WordPress hosting solutions. This tutorial will guide you through the steps required to set up and run WordPress on Cloudways.
- Sign up for a Cloudways account: Visit the Cloudways website and sign up for an account by providing your email address and setting up a password.
- Choose your cloud infrastructure: Cloudways supports multiple cloud infrastructure providers, including Amazon Web Services (AWS), Google Cloud Platform (GCP), DigitalOcean, Vultr, and Linode. Select the cloud provider that suits your needs and budget.
- Create a new server: Once you have chosen your cloud infrastructure provider, proceed to create a new server. Cloudways offers a simple interface to deploy servers with just a few clicks. Choose your desired server size and location, and configure the necessary settings.
- Select WordPress as your application: During the server creation process, you will be prompted to choose an application. Select WordPress from the list of available applications.
- Provide basic server details: Enter a name for your application and server. You can also set up an SSH key for secure server access.
- Choose your server resources: Specify the amount of server resources like CPU, RAM, and storage you want to allocate to your WordPress installation. Cloudways provides flexible scaling options, allowing you to resize the server as needed.
- Launch your server: Once you have configured all the necessary settings, click on the "Launch Now" button to initiate the server deployment process.
- Access your WordPress site: After the server is successfully deployed, you will receive the necessary details to access your WordPress site. Use the provided temporary URL to access the WordPress admin dashboard.
- Configure your WordPress site: Log in to the WordPress admin dashboard using the credentials provided. Customize the appearance of your site using themes and plugins. Install any necessary plugins or extensions to enhance the functionality of your website.
- Configure domain name: Once you have set up and customized your WordPress site, you can configure your own domain name. Cloudways provides a simple interface to add and manage domain names.
- Enable SSL: To ensure secure connections, enable SSL for your WordPress site. Cloudways offers a built-in Let's Encrypt SSL certificate that can be easily installed and activated.
- Monitor and manage your WordPress site: Cloudways provides various monitoring and management tools to optimize your WordPress site's performance. You can monitor server resources, set up backups, configure caching, and use other performance-enhancing features.
By following this tutorial, you can successfully run a WordPress site on Cloudways. This combination of powerful cloud hosting and the popular WordPress CMS allows you to create and manage your website efficiently.
What is the process for optimizing WordPress images on Cloudways?
To optimize WordPress images on Cloudways, you can follow these steps:
- Log in to your Cloudways account and select the appropriate website/application from the dashboard.
- In the left-hand menu, click on the "Application Management" tab and then select "Application Settings."
- Under the "Advanced" tab, you will find the "Image Optimization" section. Toggle the switch to "Enable" the image optimization feature.
- After enabling the feature, you will see additional options. You can choose to optimize images automatically upon upload or optimize existing images in the media library.
- If you want to optimize images upon upload, toggle the switch to "Enable." This will compress and optimize the uploaded images during the process.
- To optimize existing images in the media library, click on the "Optimize Now" button.
- A new window will open with the image optimization options. Here, you can choose the compression level and image quality that suits your requirements.
- Once you have selected the desired options, click on the "Optimize" button to start the optimization process.
- The optimization process may take some time depending on the number and size of the images.
- After the optimization is complete, you will receive a report showing the number of optimized images and the disk space saved.
- You can also use additional plugins like "Smush" or "ShortPixel" to further optimize images if needed. Cloudways supports these plugins, and you can install them from the WordPress plugin repository.
- By optimizing WordPress images, you can improve website performance, reduce loading times, and save bandwidth.
It is important to note that image optimization may lead to some loss in image quality, so it's recommended to test and preview the optimized images to ensure they meet your desired visual standards.
What is the process for migrating a local WordPress installation to Cloudways?
To migrate a local WordPress installation to Cloudways, you can follow the steps below:
Step 1: Sign up and set up a server on Cloudways.
- Visit the Cloudways website and sign up for an account.
- Set up a server with the desired specifications and select your preferred cloud provider.
Step 2: Install WordPress on Cloudways.
- Once your server is set up, go to the Applications tab in the Cloudways control panel.
- Click on the Add Application button and select WordPress.
- Configure the application details, such as the name, domain, and server.
Step 3: Download and install a migration plugin.
- Install a migration plugin, such as Duplicator, All-in-One WP Migration, or WP Migrate DB.
- Activate the plugin on your local WordPress installation.
Step 4: Create a migration package.
- Open the migration plugin on your local WordPress installation.
- Follow the plugin's instructions to create a migration package, which will include the database and files necessary for the migration.
Step 5: Transfer the migration package to Cloudways.
- Upload the migration package (usually a .zip file) to a location accessible by your Cloudways server.
- This can be done through various methods, such as using FTP, SFTP, or Cloudways' SFTP manager.
Step 6: Import and finalize the migration on Cloudways.
- Go back to the Applications tab in the Cloudways control panel.
- Find the WordPress application you previously created and click on it.
- Under the Application Management tab, select the Migration tab.
- Provide the necessary details, such as the migration package URL or path, and initiate the migration process.
Step 7: Update DNS and configure settings.
- Update your DNS settings to point your domain to the Cloudways server.
- Once the migration is complete, access the WordPress site on the Cloudways server to ensure everything works correctly.
- Make any necessary configuration changes, such as updating permalinks or reactivating plugins or themes.
Please note that the exact steps may vary slightly depending on the migration plugin you choose, so it's recommended to refer to the plugin's documentation for detailed instructions.
What are the best practices for managing WordPress updates on Cloudways?
- Regularly update WordPress: It is important to keep the WordPress version up to date with the latest release. This ensures that your site remains secure and takes advantage of new features and improvements.
- Test updates on a staging environment: Before updating WordPress on your live site, it is recommended to test the updates on a staging environment. Cloudways provides easy staging functionality, allowing you to create a replica of your site to test updates without affecting your live site.
- Backup your site: Before updating anything, take a complete backup of your site, including the database and files. This ensures that you have a restore point in case something goes wrong during the update process.
- Update plugins and themes: In addition to WordPress core updates, it is crucial to keep your plugins and themes up to date. Outdated plugins and themes can be a security risk, so ensure you update them regularly.
- Enable automatic updates: Cloudways offers the option to enable automatic updates for WordPress core, plugins, and themes. This ensures that your site remains up to date without manual intervention. However, it's recommended to monitor your site closely after enabling automatic updates to ensure compatibility with your theme and plugins.
- Monitor site performance: After updates, monitor your site's performance to ensure everything is working as expected. If you notice any issues or conflicts, roll back the updates, or reach out to support for assistance.
- Prioritize security: WordPress security should always be a top priority. Apart from regular updates, consider using a security plugin and implementing additional security measures, such as strong passwords, two-factor authentication, and regular security audits.
- Stay informed: Stay updated with the latest WordPress news, security vulnerabilities, and best practices. Subscribe to official WordPress blogs, follow security experts, and participate in relevant forums and communities to keep yourself informed about any critical updates or security issues.
- Engage with Cloudways support: If you encounter any issues or have questions regarding WordPress updates, don't hesitate to reach out to Cloudways support. Their team can provide guidance and assistance with managing your WordPress updates effectively.
- Periodic maintenance and clean-up: Along with updates, periodically review and clean up your WordPress installation. Delete unused themes and plugins, optimize your database, and remove any unnecessary files to improve performance and security.